Step 1 – Get The Sash Out
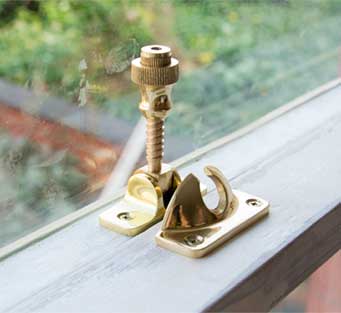
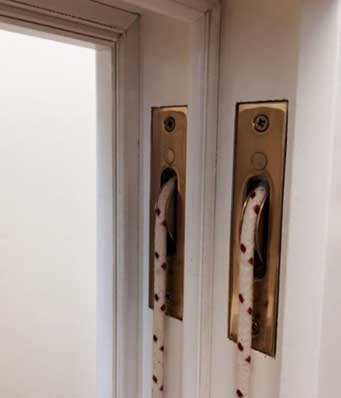
Unscrew any security fittings in front of the lower sash. Remove the staff bead before pulling out the lower sash and taking off the cords or chains on both sides. Remember to knot the cords (including the top sash cord) to keep them from being pulled back into the frame by the attached weights. Remove the parting beads (vertical strips of wood holding the upper sash) Pull out the upper sash and take off cords and chains. Remove the sash hardware and store in a safe place.
Step 2 – Free The Glass
Step 3 – Clean Out The Joints
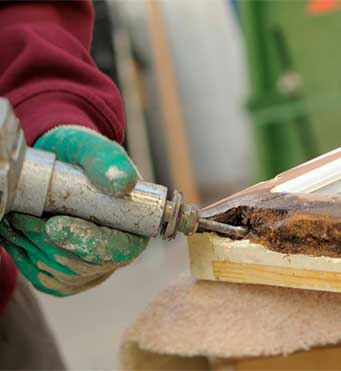
Where sash joints are loose or open, remove any soft or rotten wood, using a rotary tool such as a Dremel.
Step 4 – Apply The Epoxy
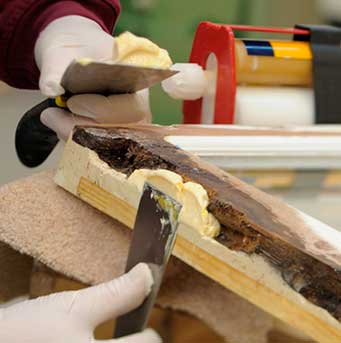
To rebuild the cleaned-out joints first brush on Expoxy High Build and let is set for 20 minutes. Then, using the plastic scraper or any tool that will do the job to hand, mix the two parts of the epoxy filler into a mixture. Force it into the joint and spread the mix over the sides to restore the joints original shape. Leave for four hours, then trim any excess with a knife.
Step 5 – Prime The Sash
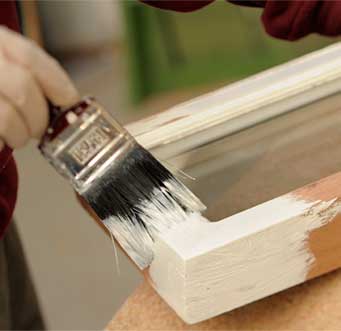
Wait twenty four hours, until the epoxy is fully cured and not tacky, then hand-sand the sash with sandpaper, and wipe up all the dust with a damp cloth. Seal the wood with a coat of primer, this must be done before any putty is applied. Without a coat of primer the wood will suck the oils out of the putty and turn brittle.
Step 6 – Bed The Glass
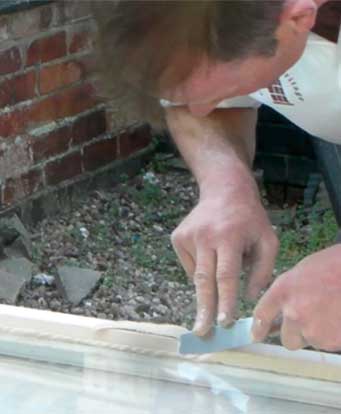
Lay the sash exterior side up. Roll multi-purpose putty into a long sausage shape between your hands and press into the glazing rebate. Gently press the pane evenly into the putty until its bedded into putty to give a back bedding of 1 – 2mm throughout and secure pane mechanically i.e. with metal sprigs or clips. Apply further fronting putty by rolling into a long sausage shape and applying where the glass meets the glazing rebate and fronting it to create a triangular shaped fillet and knife at an angle finishing about 2 mm below the sightline. Trim off the excess putty on the internal glazing upstand, sloping away from the glass to let the moisture run off it. The maximum fillet size to allow correct setting is 15mm high x 25mm wide. The minimum fillet size is 8mm high x 10mm wide.
Step 7 – Rehang The Sash
If the sash windows have old draught proofing replace it, if there isn’t any, make sure you add some. Our easy to use self-adhesive Reddipile Weatherstrip is not only ideal for use on the meeting rail and the top and bottom sashes, it can also be used on the side of the frame to prevent rattle. Clean and reattach the sash furniture/ ironmongery; lubricate the pulley axles with pulley oil. Reattach the cords or chains to the upper sash or replace them with new ones. Re-attach the top sash, then replace parting bead.

